Sola wood flowers are flowers made from a plant called Aeschynomene Aspera. They are formed to look like real flowers, and can be dip dyed, as well as painted or airbrushed to create a realistic effect.

Brookstone: Get $10 Off Your First Order of $100+
Here is the set up:

Supplies
Acrylic Craft Paint or Latex paint
– Any latex
or acrylic
paint will work. I recommend choosing latex
over acrylic
, as the flowers tend to be more vibrant. You can experiment with lots of different types of paint, even wine or coffee.
Water-warm helps soften the flowers for reshaping.
Bowls or any Food Storage Containers
Mini Sola Wood Flowers or Larger 3″ Sola Wood Flowers
of any brand you like.
Hot Glue Gun and Glue
Step 1: Make the Water and Glycerin Base
Begin by making your water and glycerin base. This is what you will mix with your paint when you dip your flowers. This mixture is used because the glycerin
will soak into the wood. This keeps the cells soft and hydrated. Use vegetable glycerin
instead of animal glycerin
, animal glycerin
can yellow over time.
Boil 3 cups of water. Then, once the water is boiling, mix in 1 cup of glycerin. Let the mix cool to room temperature before mixing with your paint. You will have more than you may need, but this can be stored and saved for later use.
Step 2: Mix the paint
Mix equal parts of your paint (8oz) and water/glycerin
mix (8oz) in the bowl. For a richer color, use less water, for a lighter color, use more water. There is no specific ratio that works best, it just depends on how you want them to turn out. Stir to combine with your stir stick
.
Step 3: Dip the flowers


Turn the flowers in the dye a few times, to make sure you don’t miss any cracks or crevices between the petals. Some of the flowers may need to be opened a bit and reshaped. This is much easier to do after they have soaked in the warm dye. They are delicate, and the petals will rip off if you’re too aggressive, so be careful with them. I was very happy with the way my first round turned out. I was pleasantly surprised at how rich the color was. It was a lot easier than I thought. Once I got into the rhythm, the process was very quick.
Step 4: Let dry
Place the dipped flowers on your drying racks. Turn them every couple of hours to ensure they are drying evenly. The flowers took about 24 hours to dry completely, but depending on where you live the air may be more humid or drier, which results in varying drying times.
Step 5: Stem the Flowers
After the flowers are completely dry, it is time to stem them. To stem
the flower, just put a small dab of hot glue
on the end of the stem
, and push it in, being careful not to punch all the way through the flower. It only took a couple of minutes to dry, and they are very sturdy.


I had a couple of small spots that I missed, or that the paint came off when lifting them from the drying racks. You may need to do a paint touch up in certain spots on the flowers. I used a small paint brush for this, after they have been dried and stemmed
.
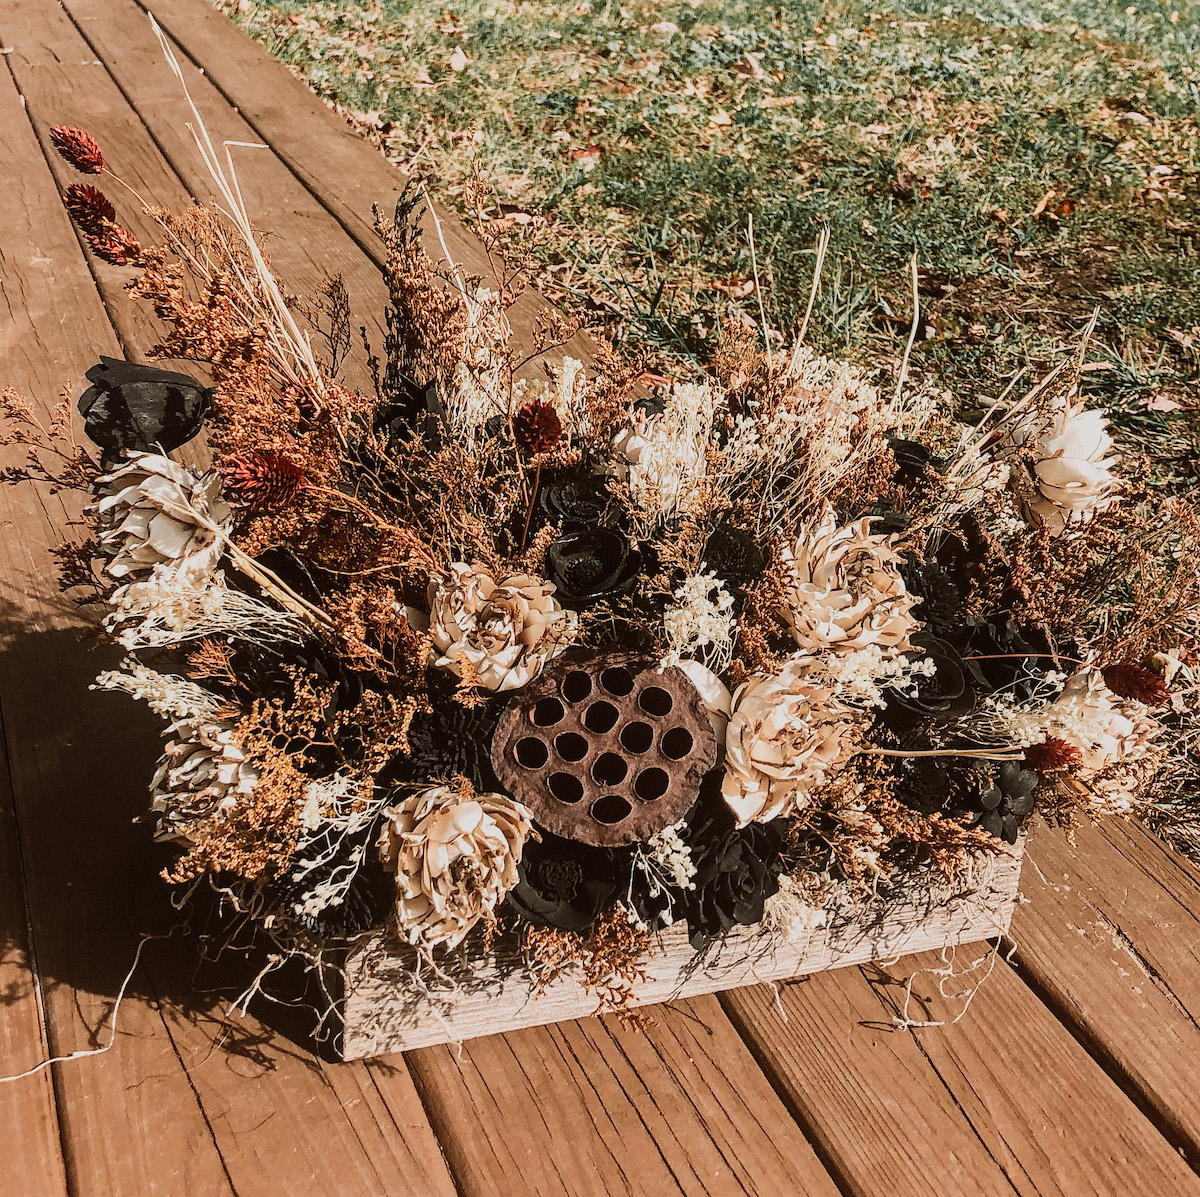
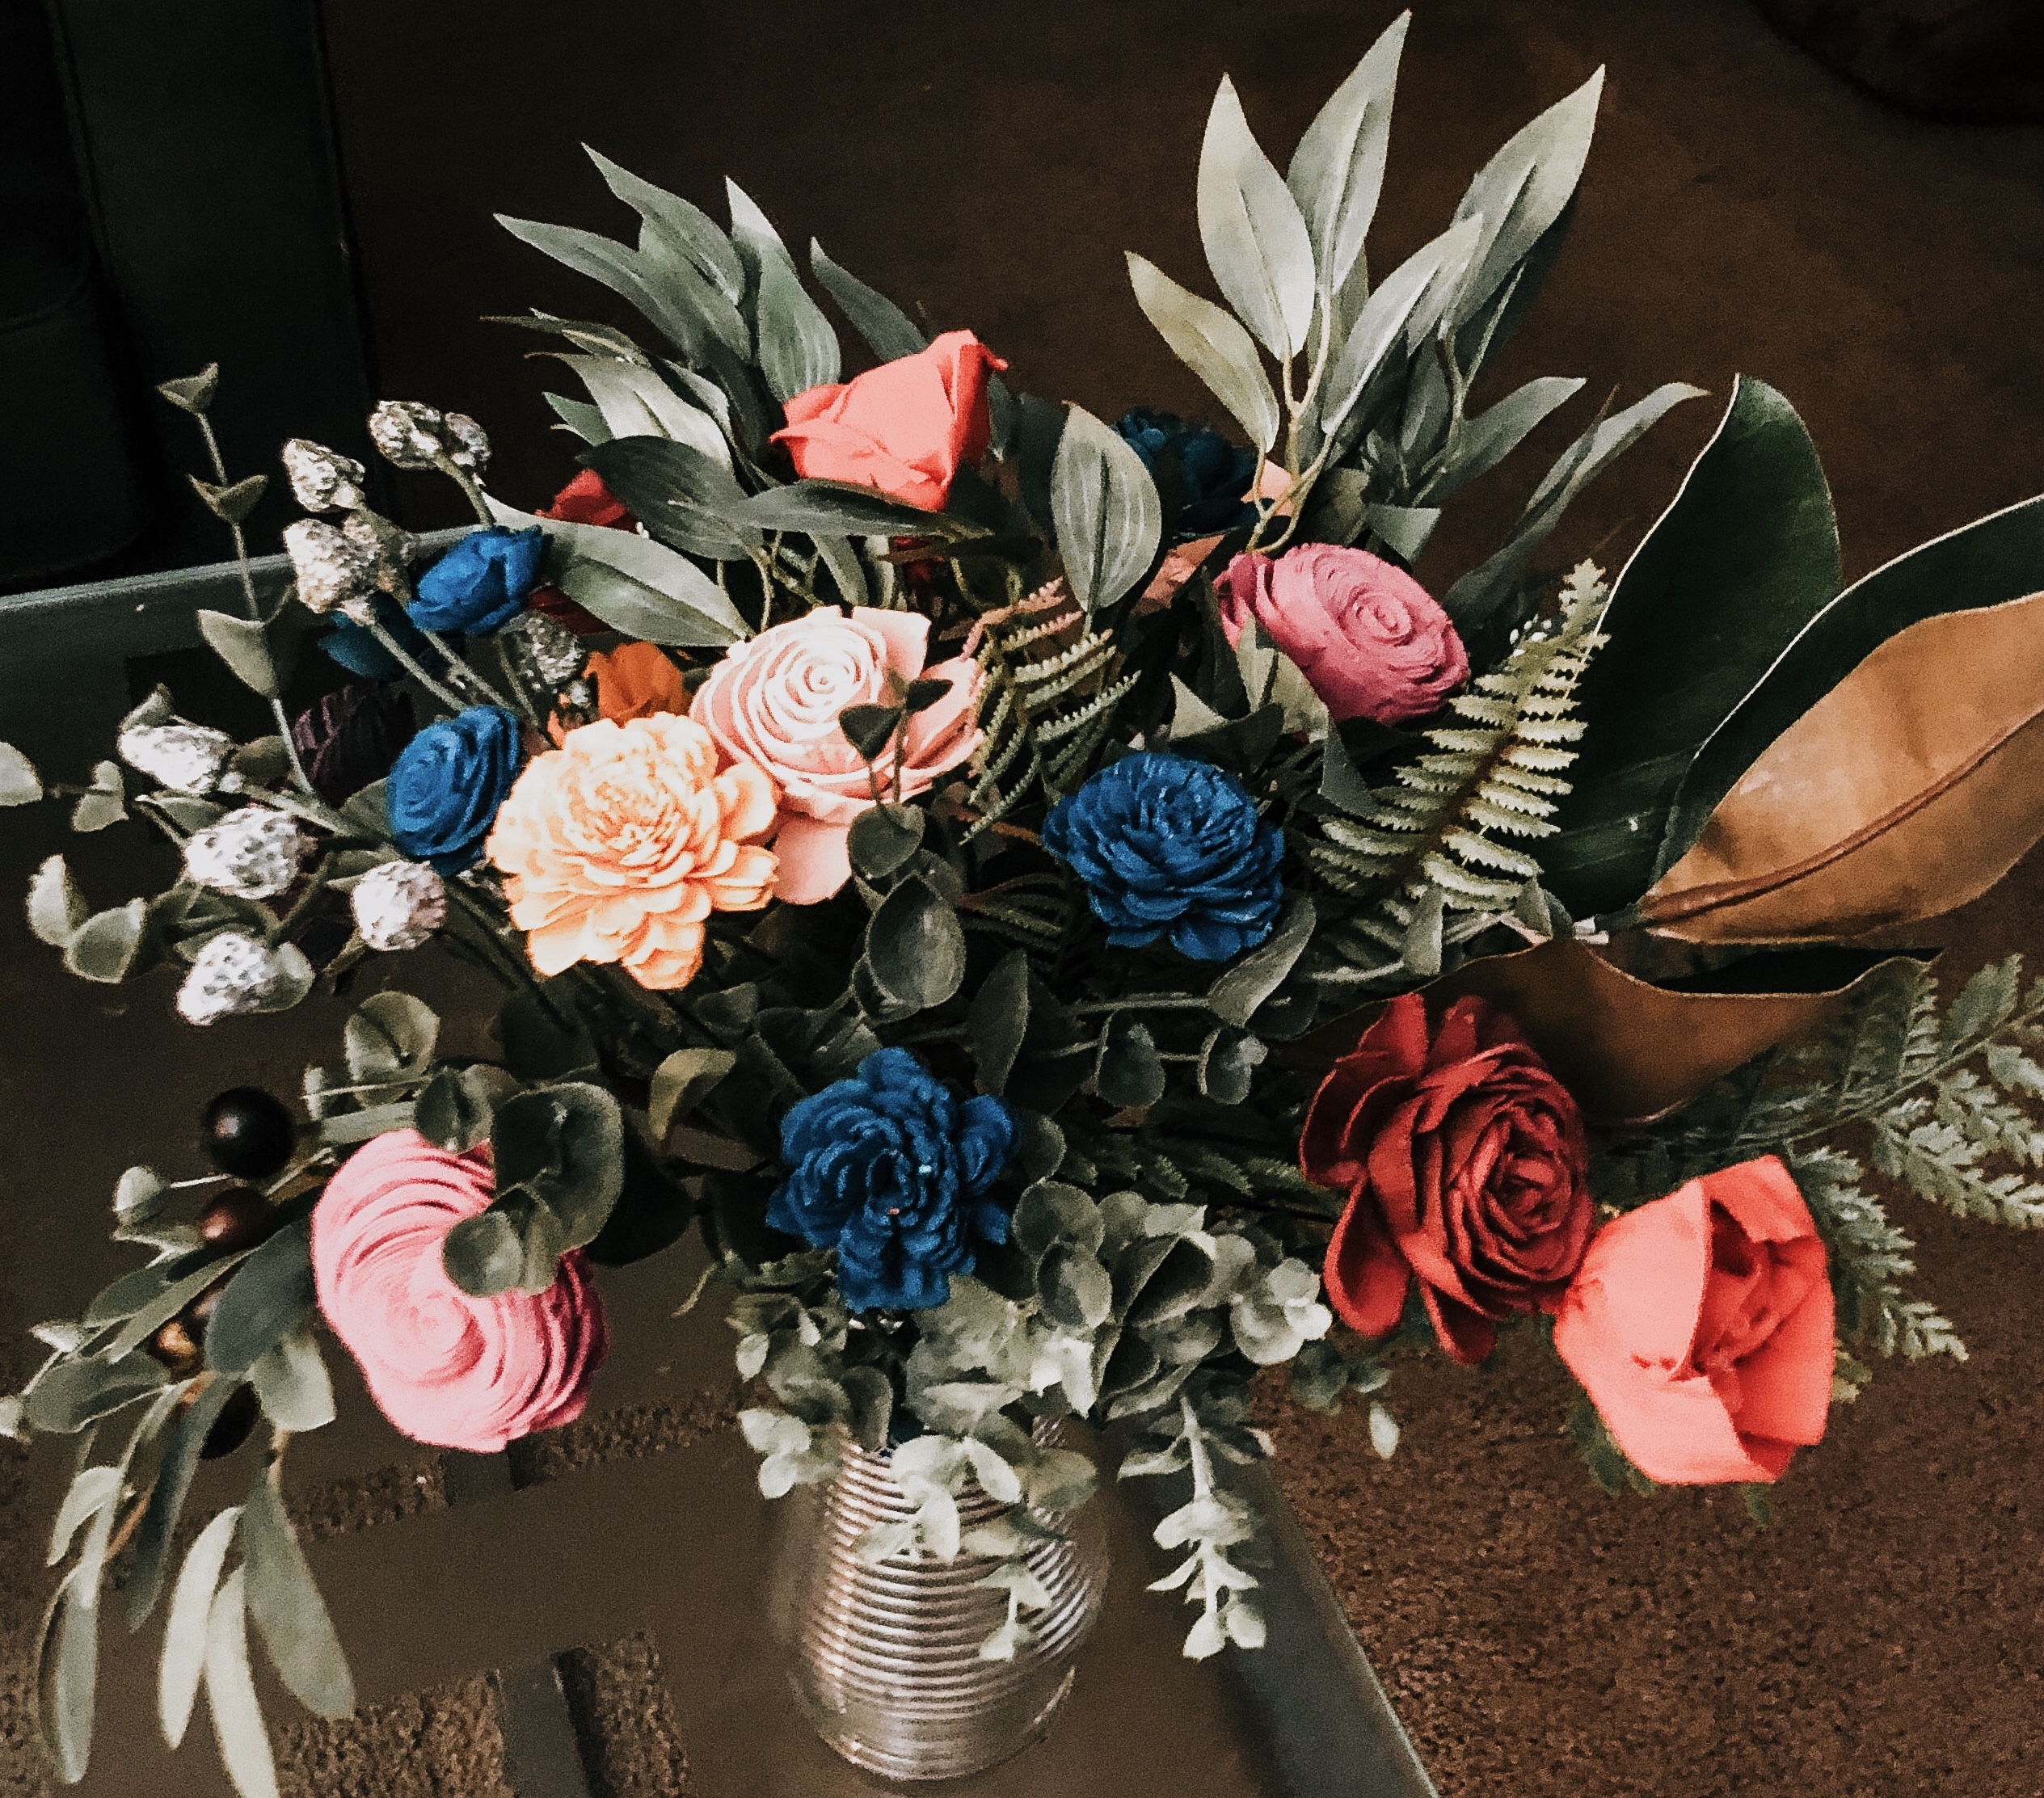
All finished! These flowers are ready to be assembled into an arrangement for your wedding centerpiece!
[instagram-feed]
https://www.pinterest.com/dahliadesignco/