Now that the wood flowers are dyed and stemmed, we can begin building the tall wedding centerpiece arrangements. We saved a ton in building these ourselves, and it was great to be able to contribute something we personally worked on together for our wedding day!

Supplies
4 – 1 x 36 Inch Square Wooden Dowel Rods. You can cut these to any height you prefer, mine are 30″ tall.
2 – Wood Squares, 12 by 12 by 1″
Wood Stain, 1/2 Pint, Dark Walnut
Wood Flowers – Approximately 30-50, dyed and stemmed
Assorted Greenery – Some popular options include eucalyptus
, ficus
, and ferns
.
Step 1: Assemble the Stand
These stands are very simple to put together. Begin by screwing all 4 legs into the base with your drill
. When you are finished, it should look similar to the picture below. After screwing in the legs, sand
the stand to make sure there aren’t any rough edges or slivers.

Step 2: Stain the Stand

I needed 10 of these for my wedding, so here are a few more of the stands after staining was finished.

Step 3: Create Your Base for the Florals
Secure the floral foam – Start the base for your arrangement by gluing
the floral foam
to the top of your centerpiece to form a square. Then wrap the floral wire
under and around and tie at the top. Do this both ways. I didn’t get a picture of this step, but when you look at your stand from the top, the should look like a plus sign. This step was to secure the foam blocks to the stands, you’re going to be adding a lot of weight, so I did this for extra security.
Cover the floral foam – I decided to cover the floral foam
in Spanish Moss. This ensures that all of the foam will be masked, and none will show through when you build the arrangement. For this step, you will want to use your hot glue gun
to glue everything on, and ensure the Spanish moss
sticks. I recommend using something to press the moss
into the hot glue, I didn’t at first and ended up burning my hand. I used an old winter glove for this.
I decided to put my greenery in after the flowers, because I wanted the flowers to be evenly distributed. Some people will choose to put their greenery in first, and that’s okay too! It’s all personal preference. I did glue a couple of my long green ficus stems, and fern
stems into the bottom, because I wanted mine to hang down over the stand a bit.
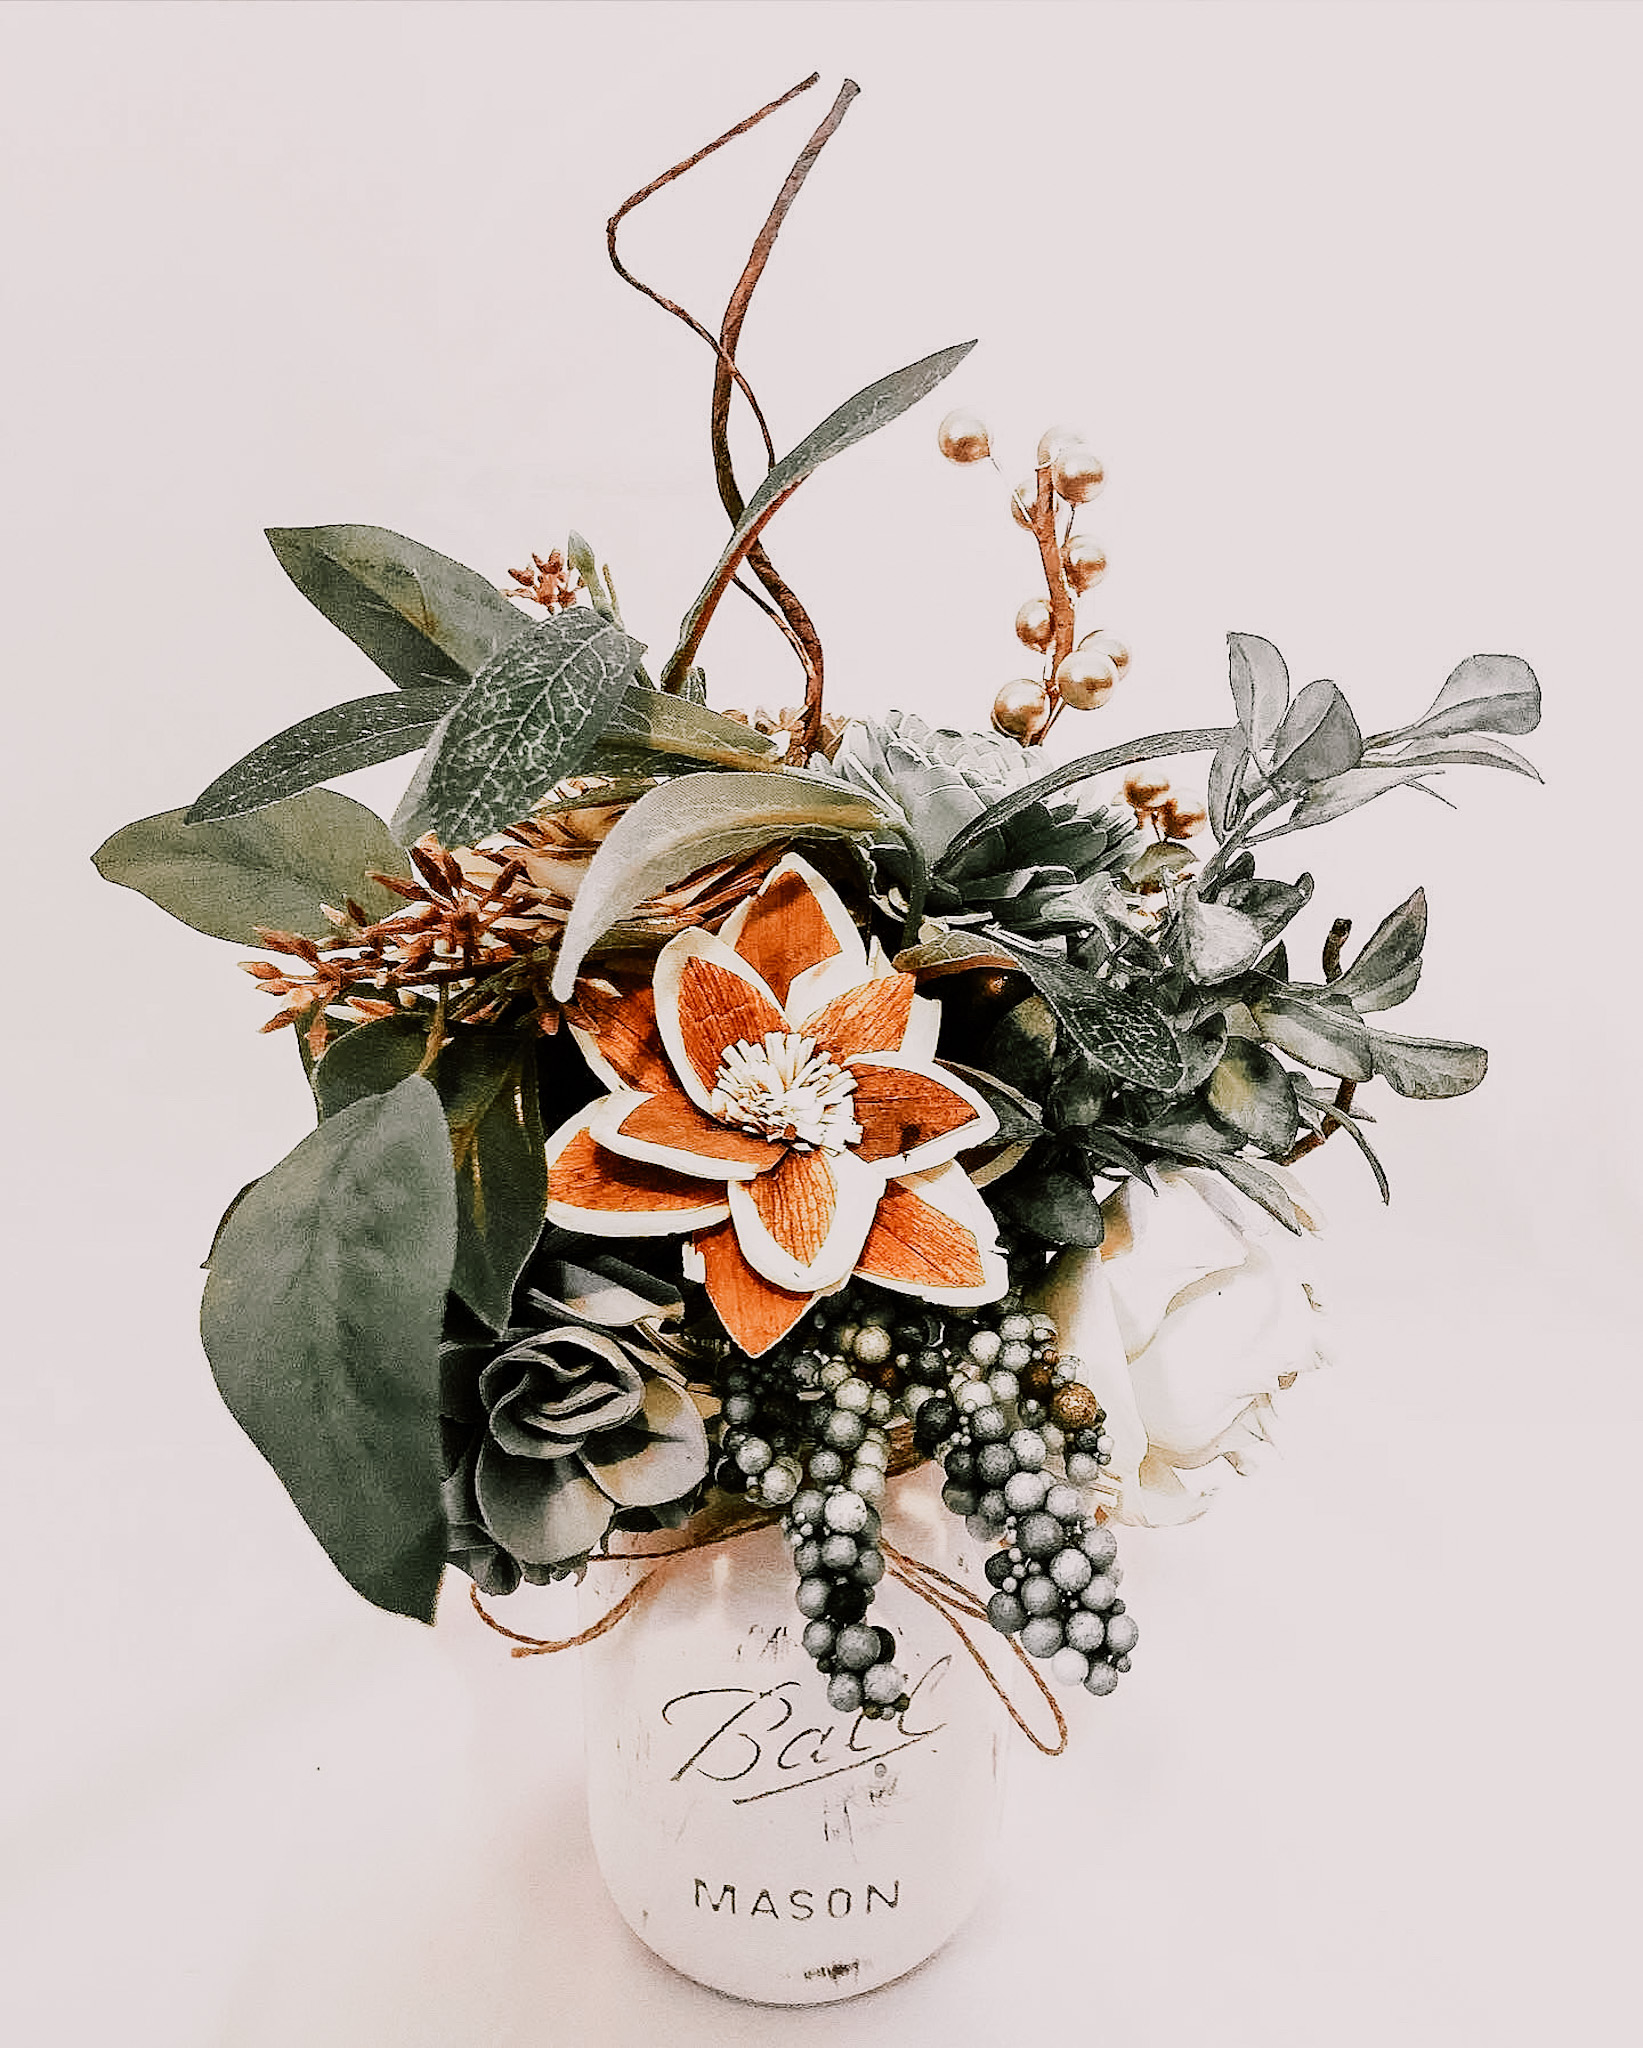
Here is our progress so far:

Step 4: Time for Flowers!
Time to begin adding your wood flowers. There is no right or wrong way to do this, it is all dependent on what visually looks good to you. Your wood flowers
should already be dyed and stemmed before you begin this step. You will want to snip each stem down with your pliers
to ensure they are the correct length. Once your flower is in the place that you want it, put a dab of hot glue
at the base, to secure the flower in. The hot glue isn’t totally necessary, but I chose to do it to ensure nothing would move during the process of transporting to our venue.

Step 5: Greenery and Fillers
Once your flowers have been added, it is time to add your greenery and fillers. You will snip these down to the correct length with your pliers as you go, and you can also dab each base with hot glue
to ensure everything is totally secure. I tried to do an even mix of 3-4 different types of greenery on each side. When you choose greenery, include a mix of several different types, which helps the arrangement to look more natural.
[instagram-feed]
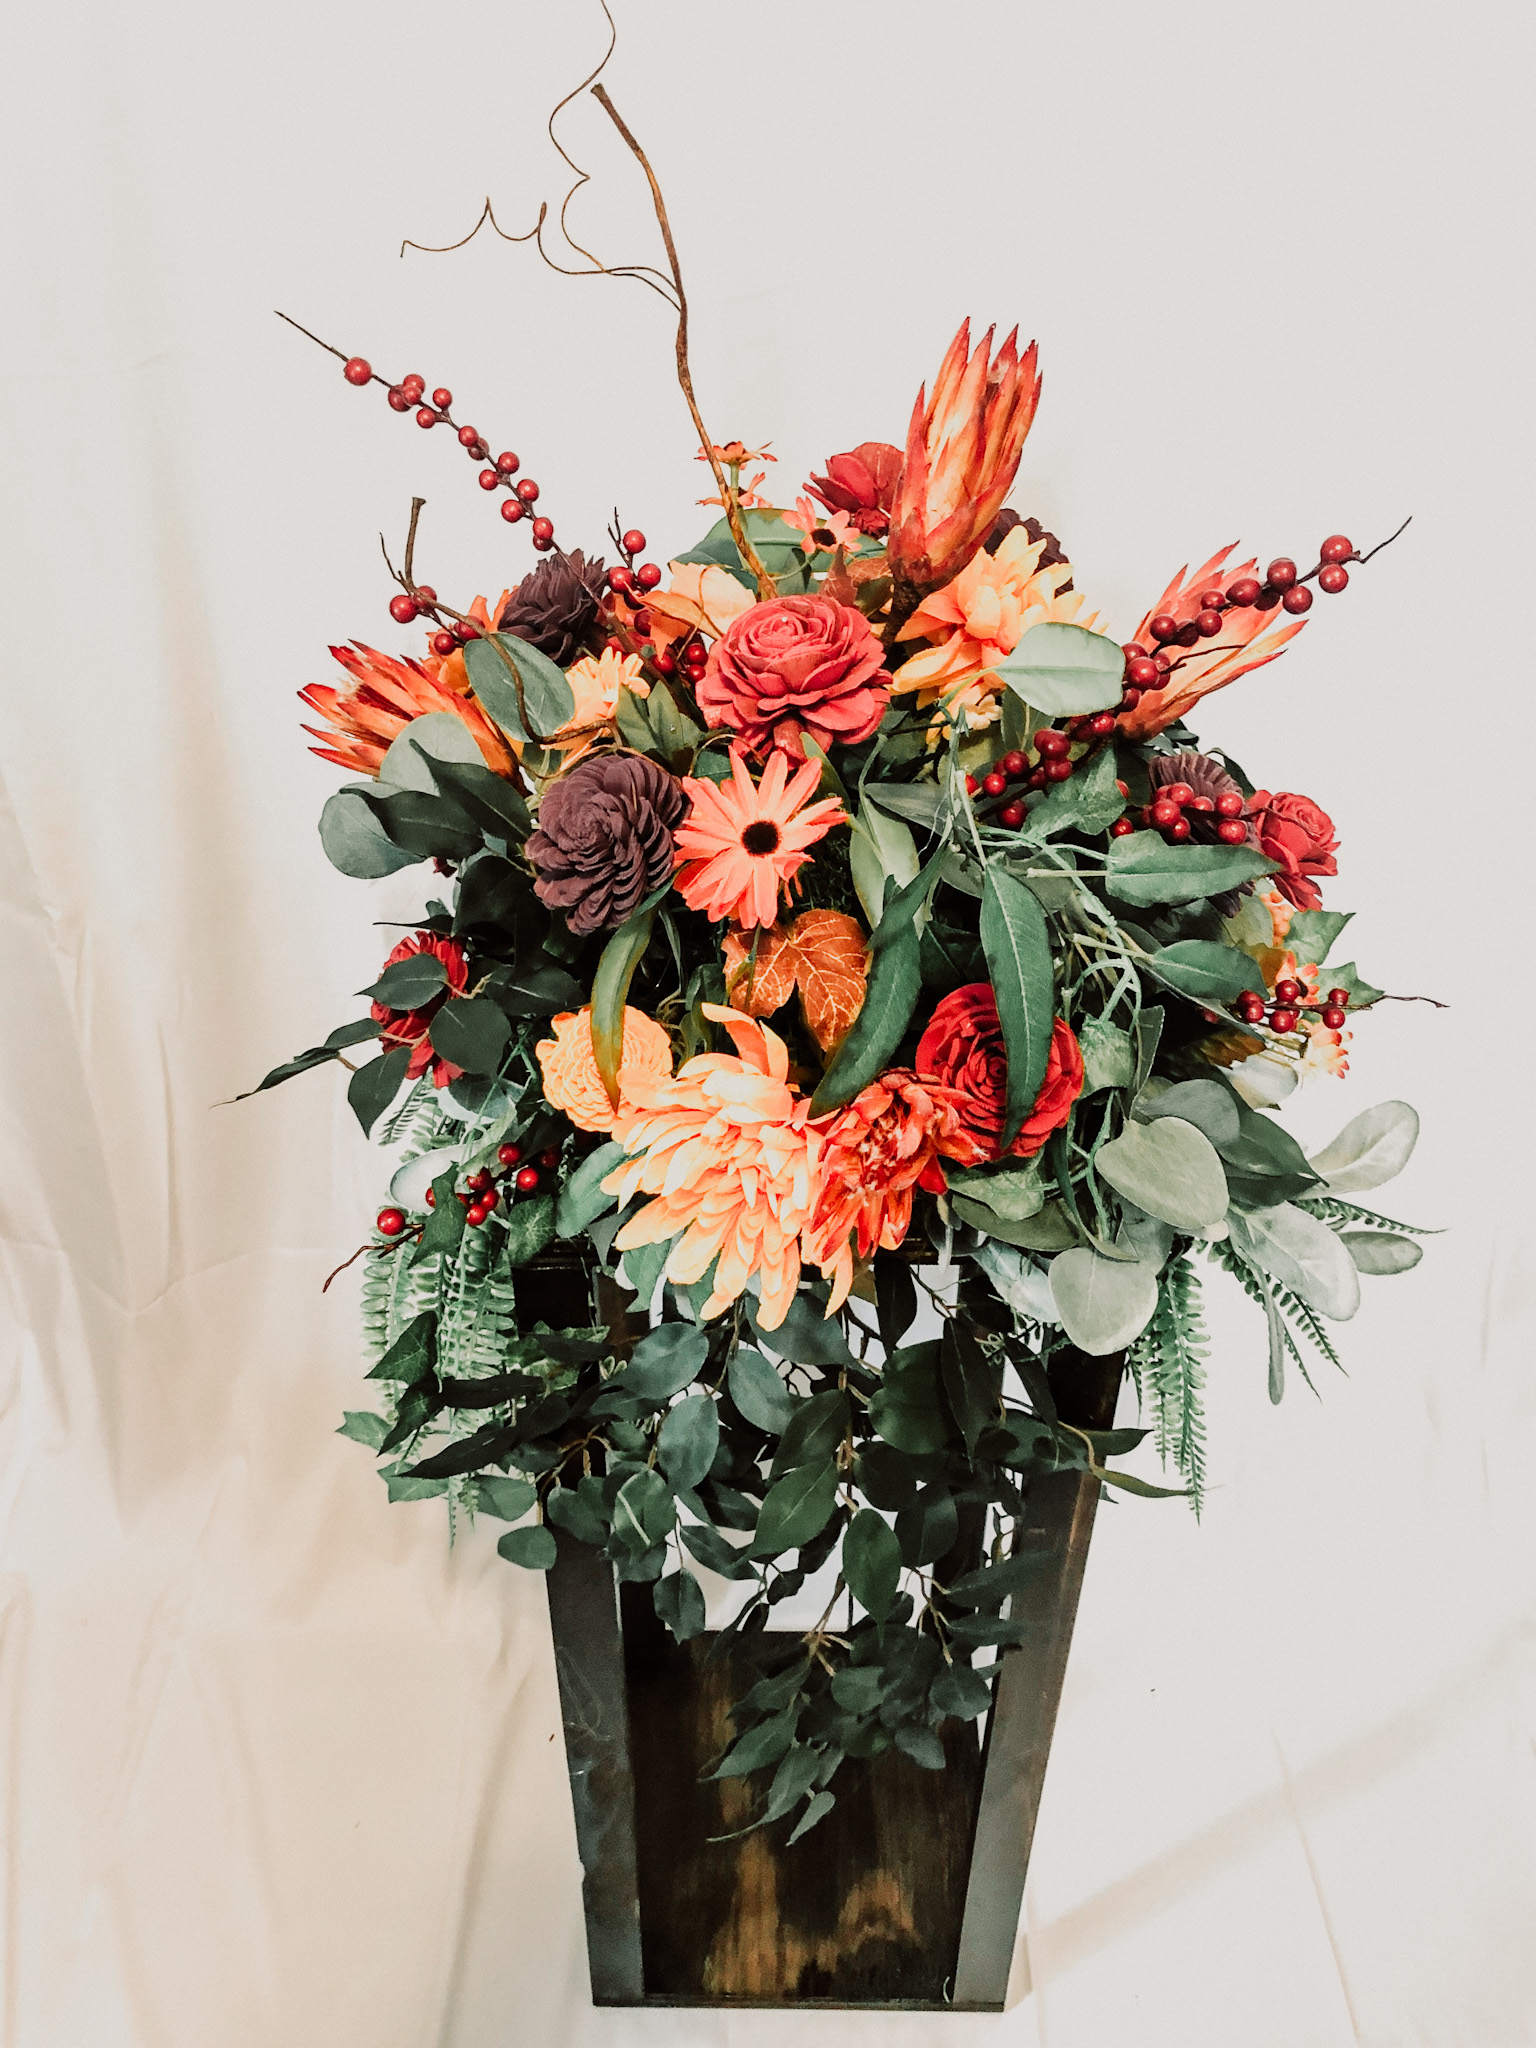
https://www.pinterest.com/dahliadesignco/Finished Tall Centerpiece Stands: