

These mason jar arrangements are super easy to make, and great for events, or to display in your home. I created these for my bridal shower, and as Mother’s Day gifts.
Supplies
Mason Jars – You can use any size you like, I used the 32oz
Stemmed Sola wood flowers, raw or dyed, you can also use artificial flowers if you don’t have wood flowers.
Greenery – Any kind you like, some of my favorites are Eucalyptus and Ficus
Fillers – There are tons of options for for fillers, some of the more popular choices are Baby’s Breath or Lavender

Step 1: Paint The Mason Jars
For this step, you will want to put down newspapers, or a drop cloth first. Prepare your brushes
, stir your paint, and put on your disposable gloves
.
You will start by painting the outside of the mason jars with chalk paint
. You can use any color paint you would like. As long as it is chalk paint, you will get the antiqued look we are going for.
Make sure the whole outside of the jar is evenly covered in chalk paint. To get the coverage I wanted, I ended up having to do two coats. I let the first batch dry for two hours before doing the second coat. After just the first coat, I found that the paint still had streaks, and was not even enough.
Step 2: Sand the Mason Jars
After your jars have dried for a few hours, you can now sand them to give them that antiqued look.
I recommend going outside for this step. It really helps to put on disposable gloves, a mask
and safety goggles
. Especially if you have a lot of them to do. The chalk paint
creates a lot of dust.
Use your sandpaper to sand
the outside of the mason jars
. I focused on sanding
the designs, so they would show though, but I did sand
a few spots and the top and bottom areas to make the jar look weathered on all sides. You will keep sanding
until you get the look you want, but no need to overdo it.
Step 3: Wrap The With Twine
Begin by holding one end of the twine with your thumb, slightly below the crease. Leave yourself about 5″ of slack, you will be using it later to make your bow. You can make your bow as large or small as you would like, just leave more slack for a larger bow.
You will then begin wrapping your twine evenly within the crease, right below the mouth of the jar where the lid screws on. Wrap the twine
around the top of the jar, until you are happy with the coverage that you have. I ended up doing about 10 loops. When you are finished, dab a bit of hot glue
to secure your twine
at the top. Now, snip off the other end of the twine
, leaving another 5″ on that end. Now, just tie your bow, and your jar is complete!

Step 4: Create Your Arrangement
You will need small cubes or half circles of floral foam for this step. If you cannot find anything small enough, slice your floral foam
to a size that will fit into your jar with a utility knife
. Dab some hot glue
on the bottom side of the floral foam
, and insert it into your mason jar
. This step is not totally necessary to make a beautiful arrangement, but i’ve found that it does a much better job of holding your flowers
in the correct place, and keeps them from moving around.
Now begin creating your arrangement in any way you’d like. You will be cutting each stem to the correct size as you go, snipping each stem down with your pliers. Stick each stem into your floral foam
, and make sure you are evenly mixing your flowers
, greenery
, and fillers
, so it looks balanced on all sides.
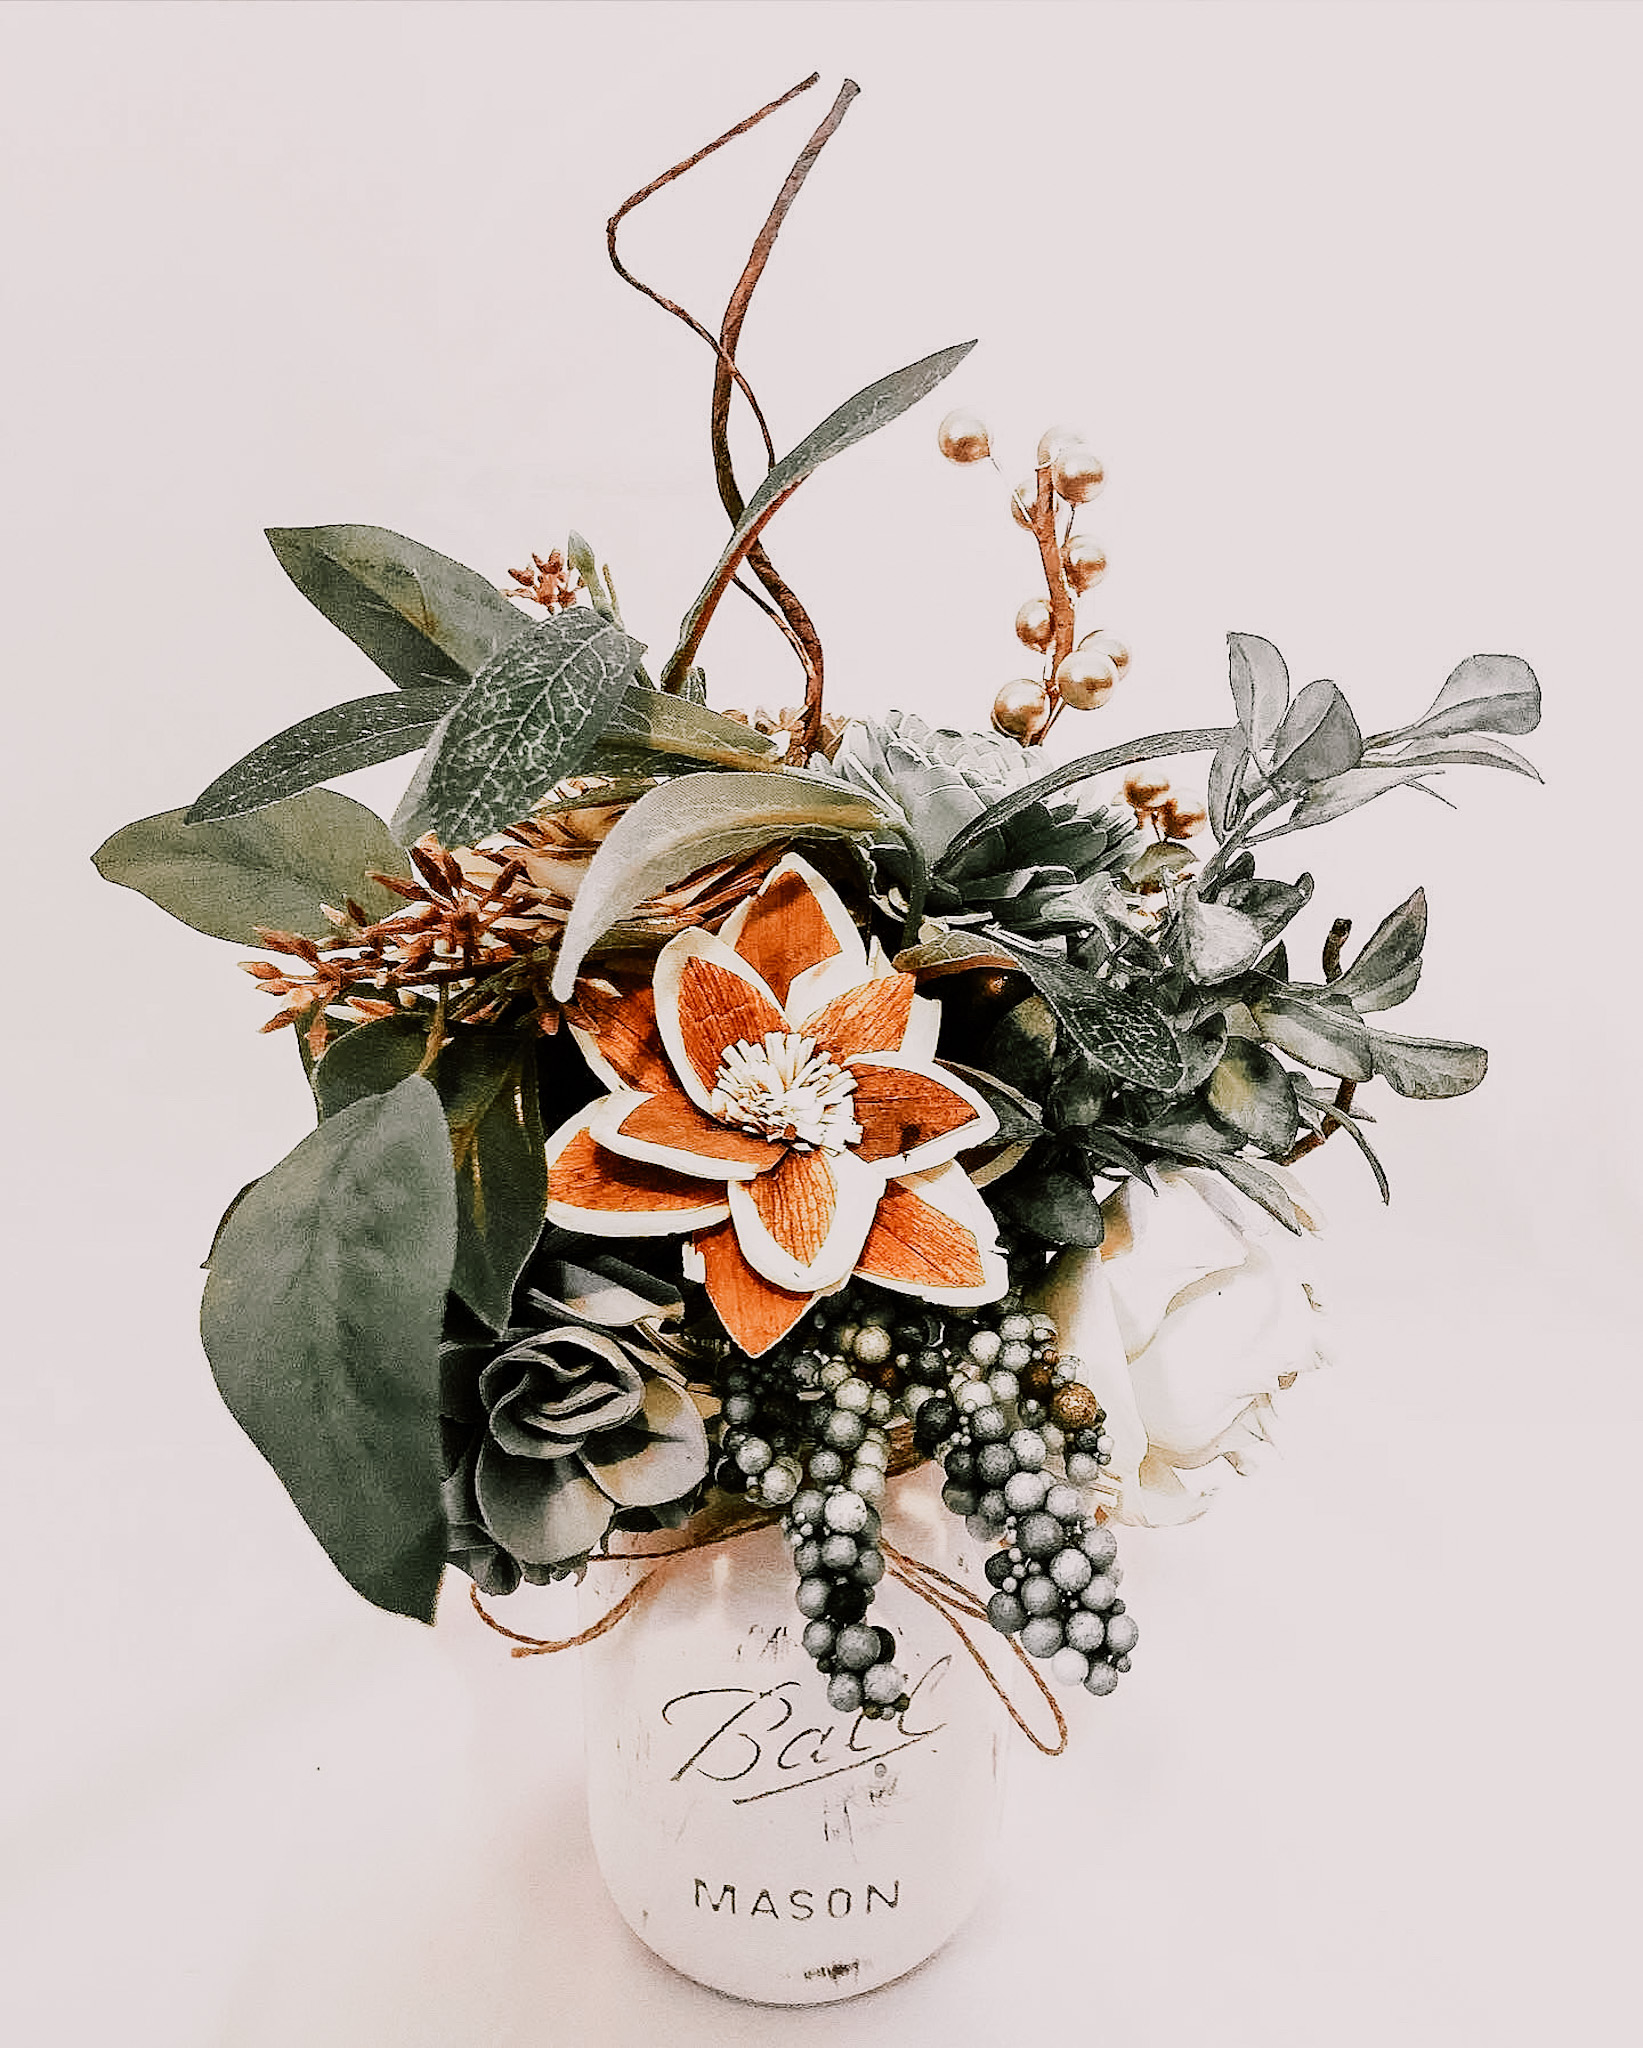
When you are finished, it should look something like this:

Alternative Method
If you want to be able to store items inside of your mason jars, instead of putting the floral foam
inside , you can hot glue
it to the lid instead.
You can stick the stems in the same way to create your arrangement, but the stems will be a lot shorter.
You will want to dab a bit of hot glue on each stem before sticking it in, so you can ensure it stays in place. The flowers
, fillers
, and greenery
are more likely to fall out if they are not glued
in with this method.
[instagram-feed]
https://www.pinterest.com/dahliadesignco/